I've just updated the backup strategy for my NixOS home server, switching from a simple daily script to an hourly one. It's not quite as elegant as the Mastodon instance my friend manages—where we have ZFS snapshots every 20 minutes—but I'm happy with this solution. And I have to say, I'm liking NixOS more and more. Without AI, it would be far too complicated for me to understand, but by now I can at least read the finished Nix files. I once considered switching the server to a standard Linux distribution, but as long as it works this well...
-
/etc/nixos: The entire NixOS configuration (all .nix files).
-
/opt/minecraft: All worlds and data for the Minecraft server.
-
/opt/satisfactory: Save games and configuration for the Satisfactory server.
-
/opt/Blog: The source code and content of the blog.
-
/opt/ui: The Mastodon UI files.
-
/opt/audiobookshelf: The audiobooks and the associated database.
Everything ends up on S3 storage mounted via RClone.
The NixOS Configuration
{ config, pkgs, ... }:

{
  # BorgBackup configuration
  services.borgbackup.jobs.hourly = {
    # Path to the repository in the S3 mount
    repo = "/opt/S3/Backup/NixOSHomeServer_Borg";

    # No password required
    encryption.mode = "none";

    # Compression for even more space savings
    compression = "auto,zstd";

    # The paths to be backed up
    paths = [
      "/etc/nixos"
      "/opt/minecraft"
      "/opt/satisfactory"
      "/opt/Blog"
      "/opt/ui"
      "/opt/audiobookshelf"
    ];

    # Hourly execution
    startAt = "hourly";

    # Automatically initialize repository if it's missing
    doInit = true;

    # Retention rules (Pruning)
    prune.keep = {
      within = "1d"; # All snapshots from the last 24h
      daily = 7;
      weekly = 4;
      monthly = 12;
    };
  };

  # Ensure the S3 mount is ready before Borg starts
  systemd.services.borgbackup-job-hourly = {
    requires = [ "rclone-s3-mount.service" ];
    after = [ "rclone-s3-mount.service" ];
  };
}
Originally, my blog setup was planned as a pure IPv6 project via WireGuard, as the whole thing is hosted on a home server (by the way, you can get free IPv6 addresses at route64.org). To increase accessibility, I have now added an external IPv4 proxy (thanks to @Larvitz).
However, this immediately caused SSL issues: since both the A and AAAA records were originally routed through the proxy, the Let's Encrypt validation on my server failed.
The Solution: The "IPv6 Hack"
The solution was to explicitly point the AAAA record directly to my server's WireGuard IP instead of routing it through the proxy as well.
- Domain:
blog.burningboard.org
- A-Record (Proxy):
194.28.98.217
- AAAA-Record (Server):
2a11:6c7:f05:a8::2 (WireGuard)
With this direct AAAA record pointing to my WireGuard IP, Let's Encrypt continues to reach my server directly via IPv6 (since the AAAA record is prioritized by default) and issues the SSL certificate. IPv4 traffic is forwarded to me by the proxy in encrypted form.
The Final Configuration
To ensure smooth communication, we had to adjust the Caddy servers:
1. On my server (NixOS, blog.nix)
To ensure that the real visitor IPs arrive correctly and are not overwritten by the proxy's IP, the proxy must be marked as trusted:
services.caddy.globalConfig = ''
  servers {
      trusted_proxies static 2a06:9801:1c:1000::10
  }
'';
2. On the external proxy (Caddy)
To ensure the proxy addresses my server correctly via HTTPS, it must send the hostname (SNI):
reverse_proxy [https://[2a11:6c7:f05:a8::2]:443](https://[2a11:6c7:f05:a8::2]:443) {
    header_up Host {host}
    transport http {
        tls_server_name blog.burningboard.org
    }
}
The blog is now accessible via IPv4 and IPv6, securely encrypted, and my home IP remains private! 🚀
First things first: The familiar Markdown files remain the foundation – I'm simply a big fan of this straightforward solution. But under the hood, a lot has changed:
I've tweaked the setup quite a bit:
📂 MD-Files: The blog structure remains simple, based on Markdown.
🌍 More global than ever: My blog now supports translations in 43 languages. Yes, including Klingon! 🖖 (Qapla'!)
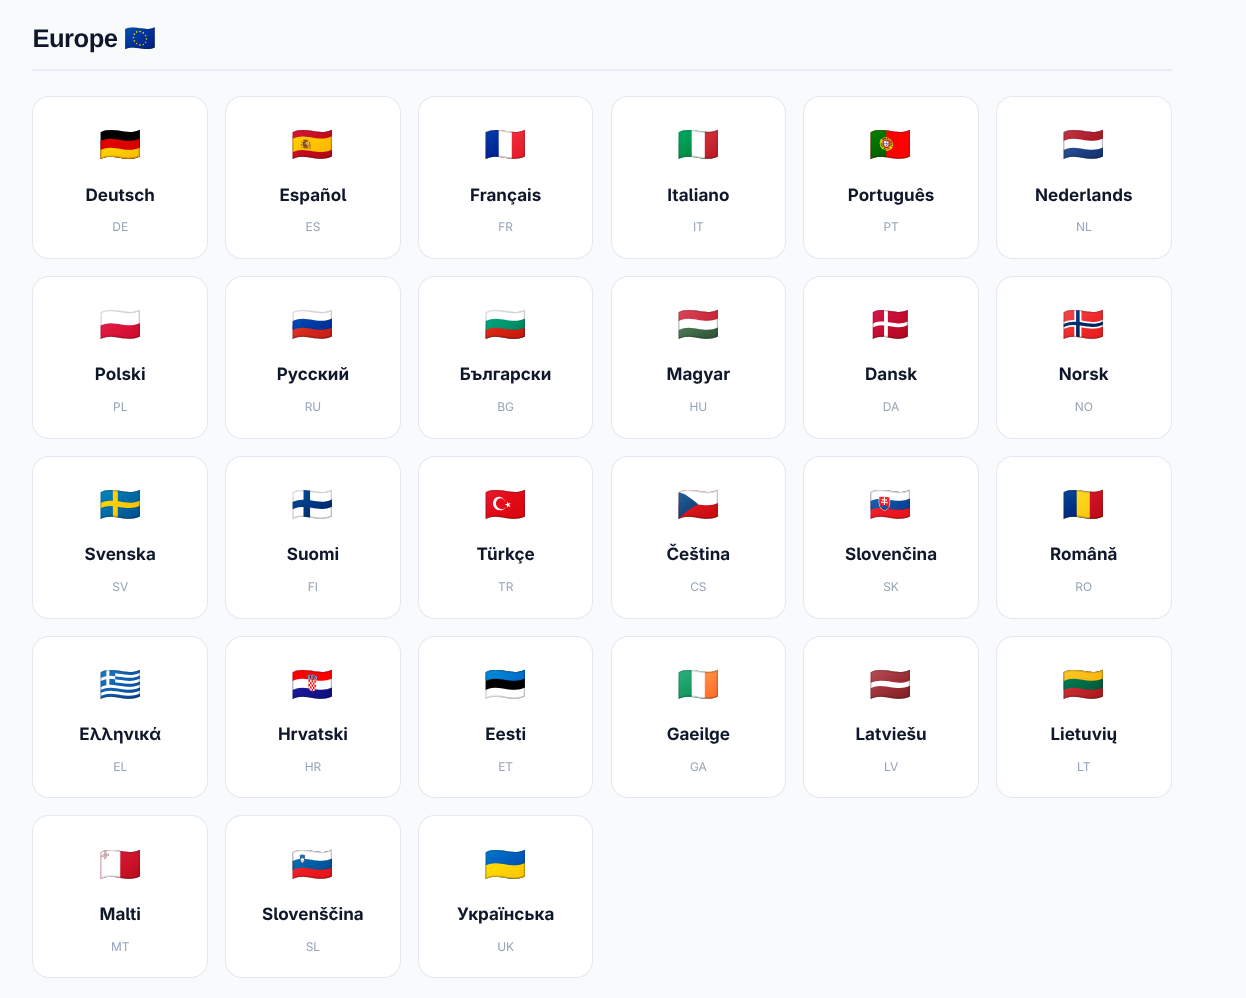
The plan was to have fully automated real-time translation based on browser language detection. Spoiler: It only partially worked. You can tell: AI is impressive, but not quite "there" yet where we'd like it to be.
The solution: I now simply pre-translate every post into all specified languages, which is also much better for search engines (SEO). If the automatic detection doesn't work, you can manually set your preferred language via the globe icon, which is then easily saved via a cookie.
The translations are now performed using Gemini 3 Flash, which delivers surprisingly good results. However, you have to keep a close eye on the AI: In the first bulk run, the tags were mistakenly translated as well, which of course wasn't the plan.
The code is still available (just send me a message if you're interested) 👍 But please note that the system now requires its own Gemini API Key 🔑.
I have quickly switched my blog from WriteFreely to a custom development: MD-Blog (the MD naturally stands for Markdown). The trigger was a failed update of the old system – but in the end, it was the perfect impetus to radically simplify everything and gain full control over the design.
The core consists of simple Markdown files in the data/ folder, which are converted into modern HTML at runtime. The result is lightning fast, works without a database, and thanks to a custom design system (including dark mode), it now looks exactly as I imagined. Even a modern Mastodon share button is now directly on board.
If you are interested in the code or the lean setup, feel free to reach out to me via Mastodon!
Actually, the idea behind #Winboat is excellent, but the implementation currently seems to be a bit unstable. Since the installation at the beginning of the year, the system had been running, but today the software completely refused to work.
The image suddenly reported insufficient memory (RAM). I tried to fix the problem manually, which unfortunately rendered the system completely unusable. Instead of investing more time in troubleshooting, I switched directly to the Dockurr Windows image – which is the technical foundation of Winboat anyway.
1. Preparation
Since I use Podman, I first created the necessary directories on my host system. This ensures data integrity if the container needs to be recreated:
mkdir -p $HOME/Windows/System
mkdir -p $HOME/Windows/Shared
2. The Start Command
Important note: Replace the placeholders in the -e USERNAME and -e PASSWORD variables with your personal credentials.
podman run -d \
  --name windows \
  -p 8006:8006 \
  --device=/dev/kvm \
  --cap-add NET_ADMIN \
  -e RAM_SIZE="8G" \
  -e USERNAME="Carsten" \
  -e PASSWORD="1234" \
  -e LANGUAGE="German" \
  -v $HOME/Windows/System:/storage:Z \
  -v $HOME/Windows/Shared:/shared:Z \
  --stop-timeout 120 \
  dockurr/windows
Once the container is active, you can access the Windows instance directly via your browser:
http://127.0.0.1:8006

3. Summary
I only had to run the command above once. In daily operation, the Windows environment can now be conveniently controlled using these shortcuts:
- Start:
podman start windows
- Stop:
podman stop windows (or shut down directly within Windows)
- Check status:
podman ps -a
Further links:
I've set up my own blog — primarily to get to know #NixOS better. Surprisingly, it was all quite straightforward.
WriteFreely is a great fit for this: minimalist, quick to set up, and without much bloat. Perfect for just getting started and learning something along the way. The configuration is pleasantly clear. Set a few options, prepare the directory, put a reverse proxy in front — done.
This is what my current NixOS configuration for it looks like:
{ config, pkgs, ... }:

{
  services.writefreely = {
    enable = true;
    host = "blog.burningboard.org";
    settings = {
      server = {
        port = 8080;
        min_log_level = "debug";
      };
      app = {
        host = "https://blog.burningboard.org";
        single_user = true;
        landing = "/read";
        wf_modesty = true;
        federation = true;
        public_stats = true;
        theme = "write";
      };
    };
    stateDir = "/opt/writefreely";
  };

  # Fix for ActivityPub key generation: Federation requires openssl
  systemd.services.writefreely.path = [ pkgs.openssl ];

  # Automatic creation of the data directory with the correct permissions
  systemd.tmpfiles.rules = [
    "d /opt/writefreely 0700 writefreely writefreely -"
  ];

  services.caddy.virtualHosts."blog.burningboard.org".extraConfig = ''
    reverse_proxy 127.0.0.1:8080 {
      header_up Host {host}
      header_up X-Real-IP {remote_host}
      header_up X-Forwarded-For {remote_host}
      header_up X-Forwarded-Proto {scheme}
    }
  '';
}
That's essentially it. NixOS makes it really easy to configure such services cleanly and keep them reproducible.